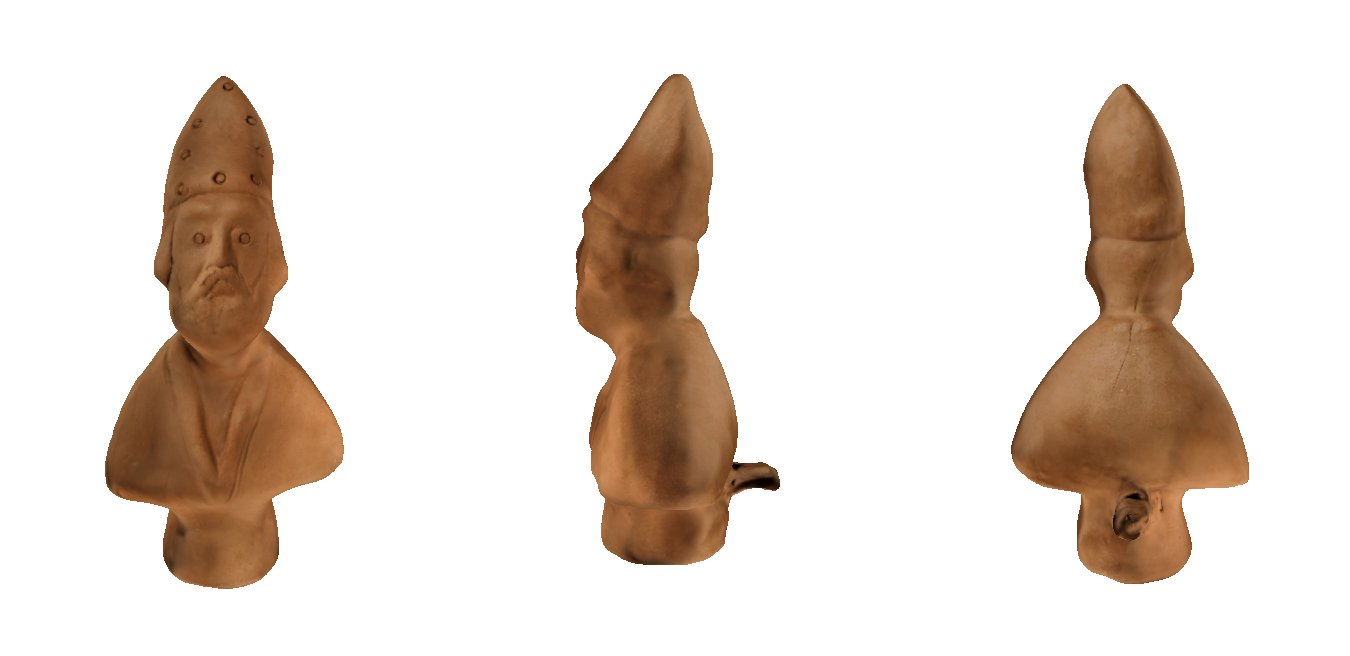
Although it is not mandatory for the project of exam, it is interesting to try to create the texture or color per vertex, at least for the model obtained with David Scan. The operation, to be performed always with MeshLab is relatively simple: you have to “attack” HD photos on the object to exactly reproduce the realistic surface. The color projection is a viable alternative to complex calculations of light scattering, it is necessary that you have the information on the chamber and the surface is completely covered. This operation is called “texture mapping” and allows, ultimately, to create an image (a png file, in our case) that describes perfectly the surface of the object.
The coloring process is exactly the same for both acquisitions. The following is the description of work performed with David Scan, but what about NextEngine the speech is the same.
Step 1 – Photo shoots
The first step is to acquire high-quality picture of the item with the related information on the camera used. To achieve this I used a SLR camera EOS 60D, the generic features of the photos are as follows, and below the photos (resized) used:
- Camera: Canon EOS 60D
- Lens: Canon EF-S 18-55mm f/3.5-5.6 IS II, Shot at 34 mm
- Exposure: Auto exposure, Program AE, 1/64 sec, f/4.5, ISO 400
- Flash: On, Fired
- Color profile: sRGB IEC61966-2.1
- Focus: AI Focus AF, with a depth of field of from 0.58 m to 0.48 m.
- File: 3,456 × 5,184 JPEG (17.9 megapixels)
- Size: 5,353,039 bytes (5.1 megabytes) Image compression: 90%
Step 2 – Editing in MeshLab
The first thing to import all raster images in the project, MeshLab provides the command “File> Import Raster”. You must select all of the images to use, and they can appear and leads through the Show Layer Dialog, just below the list of mesh of the project.
For each raster image imported to align the model with respect to the surface that appears in the picture. After an initial manual alignment you can use the camera tool: “Image alignment: mutual information” that, from the manual position can try to better align the 3D object the image. This process can be repeated until obtaining the best possible alignment. You have to do this on all imported raster images.
With the filter: “Project active rasters to current mesh” will attack all portions of images corresponding to the surface of the 3D model to the surface of the same model. This is next to the alignment of all the imported raster images. It is therefore necessary to create the texture file. To do this there is a tool “Parameterization + texturing from images,” in which the name and the size of the resulting image. At this point we have our object “covered” by the texture and colored.
Step 3 – Enjoy it!
Now the model is ready to be used:
- David Scan Color: go to the viewer >>
- Nextengine Color: go to the viewer>>
Or download ply object:
- David Scan Color:
 download model (*.ply)
 - Nextengine Color:
 download model (*.ply)
